Snowboarding Safety Guide: Step-by-Step Manual
Snowboarding is a hugely popular winter sport in the United States, attracting millions of enthusiasts annually. However, the high-speed nature and technical demands of the activity mean that safety must always be the top priority. Data from the National Ski Area Association (NSAA) indicates over 20,000 snowboarding-related injuries occur annually in the United States, with 60% of casualties being beginners who bypassed fundamental safety protocols. This step-by-step guide aims to help riders of all abilities minimise risks while maximising enjoyment on the slopes.

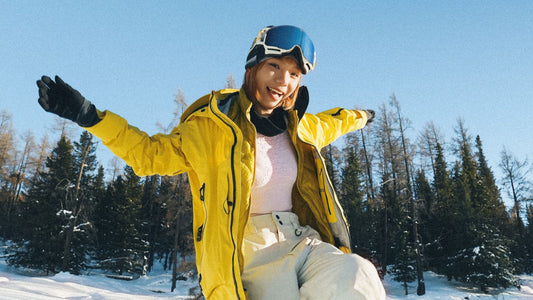
Step One: Prepare Professional Gear (15-Minute Preparation)
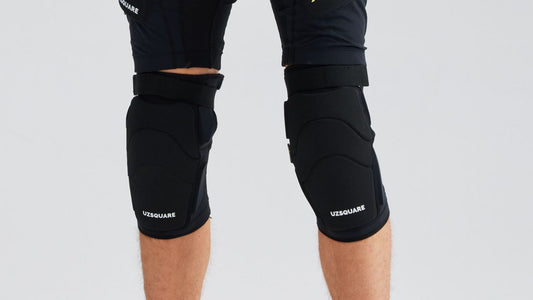
Appropriate gear forms the first line of defence against injury. Begin with a properly fitted helmet – prioritise those certified to ASTM International standards or by the Snell Memorial Foundation, as these undergo rigorous impact testing. Never share helmets; fit is paramount: snug yet not constricting, covering from forehead to the base of the skull. Secondly, wrist guards are essential, as skiers instinctively brace with their hands during falls—wrist fractures account for 40% of snowboarding injuries. Full protection includes impact-resistant shorts, knee pads, and boots compatible with your bindings (soft boots for freestyle, hard boots for alpine). Do not forget polarised goggles, which prevent snow blindness and block UV rays; layer clothing to ensure warmth without compromising movement flexibility.

Step Two: Mastering Basic Skills in a Controlled Environment (2-3 hours of practice)
Never attempt advanced slopes before mastering fundamental techniques. Begin in beginner terrain parks or on “bunny slopes” (gentle practice runs). First, learn proper binding attachment: secure your front foot into the binding, stand sideways to the slope, and maintain balance with your back foot. Next, practise static balance by shifting weight between heel and toe while standing – this “edging” technique is fundamental for controlling speed and direction. Next, learn to fall safely: knees slightly bent, arms close to your body, rolling over your shoulders to absorb impact, avoiding direct contact with wrists or tailbone. It is highly advisable to seek guidance from a certified instructor (PSIA-AASI certified instructors are recommended) to systematically learn turning and braking techniques, which are crucial for collision avoidance.
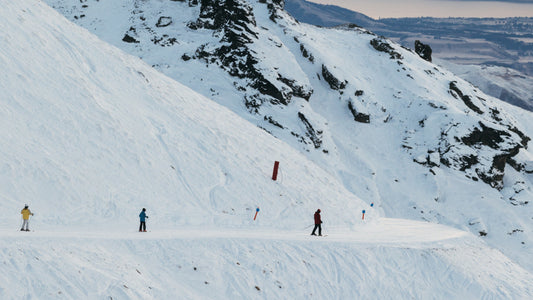
Step Three: Understand slope etiquette and difficulty ratings (ongoing awareness)
US ski resorts use standardised difficulty markers: green circles (beginner), blue squares (intermediate), black diamonds (advanced), double black diamonds (expert). Always select slopes matching your ability level; overconfidence is a primary cause of injury. Strictly adhere to the NSAA's ‘Code of Responsibility’: maintain control, yield to those below, stop only in designated areas, and never ski under the influence of alcohol or drugs. Remain vigilant of surroundings: watch for other skiers, trees, rocks, and icy patches. Consult the resort map and weather conditions before setting out; sudden blizzards or strong winds can render slopes exceptionally hazardous.
![]()
Step Four: Prepare for Emergencies (Before Departure and on the Slopes)
Before setting off, inform friends or family of your itinerary. Carry a fully charged mobile phone with emergency contacts saved. Keep a compact first-aid kit containing bandages, antiseptic wipes, and pain relief. Familiarise yourself with the resort's emergency procedures beforehand – most resorts designate assembly points and provide ski patrol contact details. Should you sustain an injury, remain calm, assess the situation, and seek immediate assistance if necessary. If you suspect serious injury (such as fractures or head trauma), do not move the casualty; await rescue by the ski patrol.
Snowboarding Safety Tips
- Warm thoroughly before hitting the slopes: Stretch legs, arms, and core muscles to prevent strains.
- Take regular breaks to avoid fatigue: Tired riders are more prone to errors.
- Stay hydrated and energised: Drink water and snack regularly to maintain physical function.
- Regularly inspect equipment condition: Check for wear or faults on board edges and bindings.
Following these steps significantly reduces injury risk, allowing you to safely enjoy snowboarding. Remember, safety isn't optional – it's your responsibility to ensure long-term enjoyment of this sport.
FAQ
Q: How can I tell if my ski/snowboard helmet is truly safe?
A: Ensure the helmet carries specific safety certifications. Professional-grade helmets should meet ASTM F2040 or CE EN1077 standards, or be certified by the Snell Memorial Foundation. These standards guarantee the helmet has passed rigorous impact testing. Additionally, the helmet must fit snugly from the forehead to the back of the head—a loose helmet cannot provide full protection. [reference]
Q: What are the most common injury sites in snowboarding? How can they be prevented?
A: According to NSAA data, wrist fractures account for nearly 40% of snowboarding injuries. The key to prevention is wearing professional wrist guards and practicing “safe falling” techniques: tuck your arms in and roll with your shoulders when falling, avoiding direct contact with the ground using your hands. Using impact-resistant shorts can also effectively protect against tailbone injuries common among beginners. [reference]
Q: How often should I inspect the safety of my ski equipment?
A: It is recommended to conduct a quick inspection before each outing. Check for loose screws in the bindings, ensure the edges of the board show no significant burrs or cracks, and verify that the boots lock securely. Regular safety checks can prevent accidents caused by mechanical failures during high-speed descents.
Tags:
Previous
What Really Goes Into a Snow Jacket? | Chapter 2: Craft, Structure & Function
Next
UZSQUARE Invites You to Join Us at ISPO Munich 2025, Where We’ll Unlock New Outdoor Products and Fresh Industry Opportunities